My sawed-off banjo is a shortened 5-string banjo. Basically, I took a 22-fret 5-string banjo and whacked off the top 12 frets, creating a shorter, 10-fret instrument that's pitched one octave higher.
Here's what it looks like, compared to a 5-string banjo.
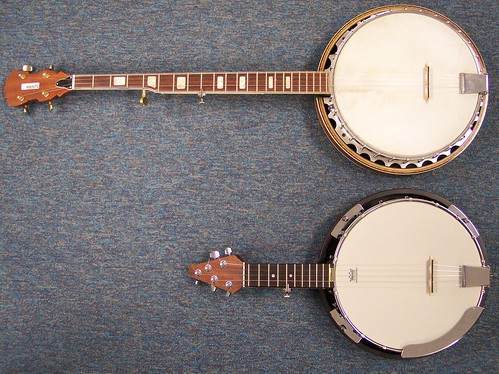
It's about the same size as some banjolins and the mandolin-banjo, but those are different instruments. My sawed-off banjo is more like a tenor banjo; a shorter version of a regular banjo.
I wanted to work up a sawed-off banjo so I could:
- learn about banjo construction,
- have a good travel banjo that would fit nicely in a suitcase and
- be better able to practice my right-hand-only exercises.
(Also, it worked out really nicely for my
Halloween costume. But that wasn't a primary reason. Honest.)
Here's how we created my sawed-off banjo. By "we" I mean me and my business partner, Don, whose woodworking skills and well-equipped workshop were essential to the project.

I bought a broken banjo off eBay. The banjo's peghead had been snapped off. Someone dropped it, probably.
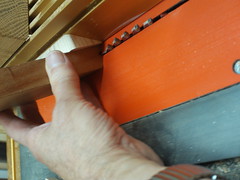
We removed the neck from the pot.
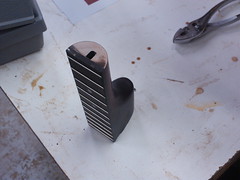
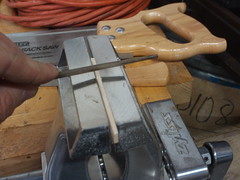
We sawed off enough of the neck to expose the truss assembly. (See video.)
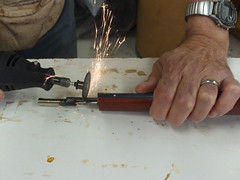
We used a Dremel to cut the truss assembly into two parts that could be pulled out of the neck. After cutting the truss assembly apart at both ends, used a hammer and a vise to whack the truss assembly loose. (See video.)
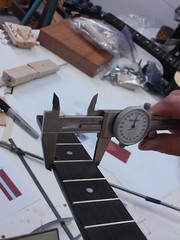
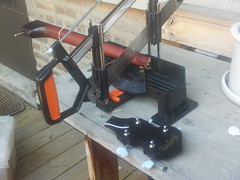
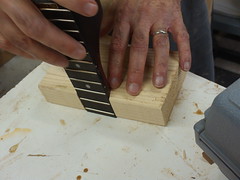
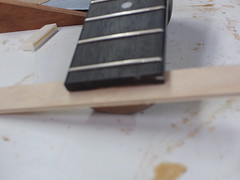
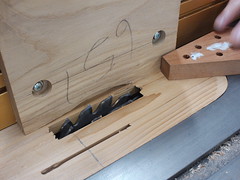
After measuring the banjo neck at both ends we created a jig to hold the banjo neck perfectly perpendicular to the saw blade, then used a miter saw to cut the neck off just above the 12th fret; hereafter referred to as the zero fret. (See video.)
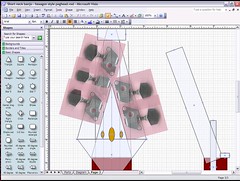
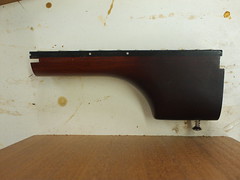
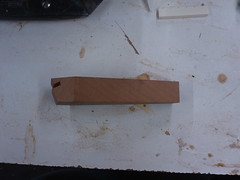
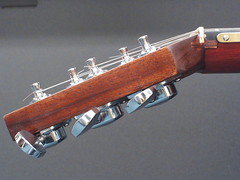
We created our new peghead from a piece of mahogany. We wanted our new peghead to be as firm as possible so we decided to put a small plywood spline at the join. I designed the peghead in Visio.
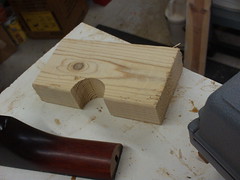
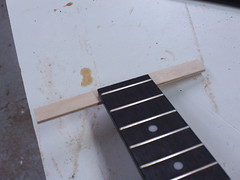
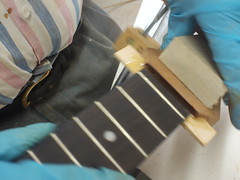
We created a jig that held the neck so we could cut a notch in the neck to accommodate the spline. This notch runs parallel to the surface of the fretboards. (See the video.)

We used a miter saw to cut our piece of mahogany at a 72 degree angle (see video) and created a pine jig with an 18 degree angle cut. This let us cut a notch for the peghead which fit the spline and which held the peghead at an 18 degree angle. Our plywood spline fit not-quite-snugly in the notch. We wanted to leave some space for the epoxy. Then, using the same jig, we cut an notch for the nut at the base of the peghead. (See video.)

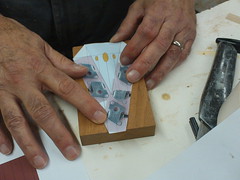
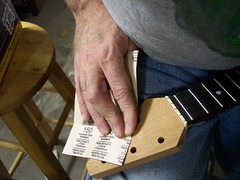
We printed the Visio diagram (to exact scale) and lightly glued the printout onto the mahagony block.
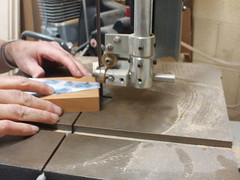
Using the diagram as a guide we used a band saw to cut the mahogany block to the snakehead shape then straightened the edges with a table sander. (See video.)

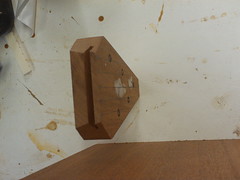
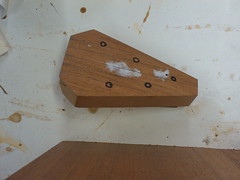
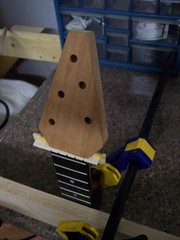
After we cut the block to size and marked the spots for peg holes our peghead block was ready for the drilling of the peg holes.
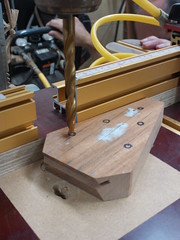

We used a drill press to drill the peg holes to be perpendicular to the surface of the peghead.
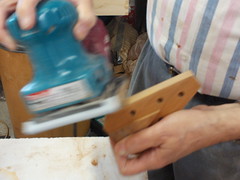
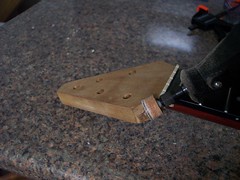
We wanted the peghead to be 3/4" thick where it connects to the neck, but 1/8" thinner (5/8" thick) along the edge where the tuners attach. So we rabbited out a trench along each side of the back of the peghead. (See video.) Then we rounded the outer edges of the peghead with a hand sander. (See video.)

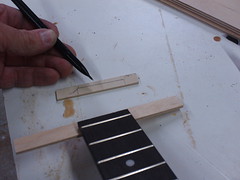
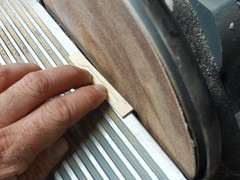
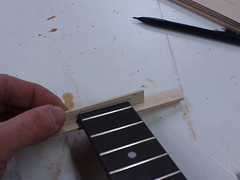
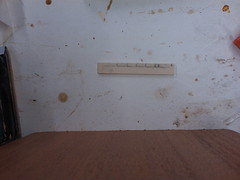
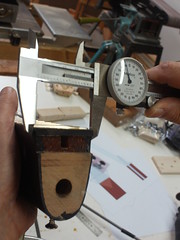
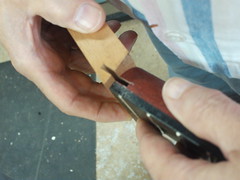
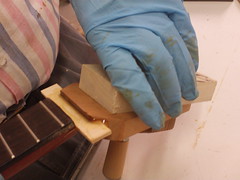
Next we needed to create a custom, five-notch nut. We started with a plain nut blank, used a table sander to shave off some of the nut blank until it was the right height (see video), marked the nut blank to indicate the top of the fretboard and marked the location of the five notches (one for each string).
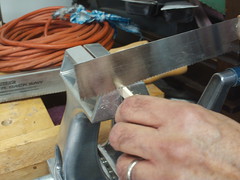
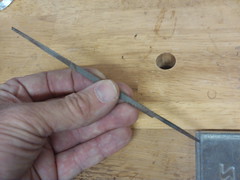
We put the nut blank in a vise and used a saw to start each groove. (See video.) Then we used a triangular file to cut each notch to a depth just above the desired depth. We didn't want to get the depth exactly right; that came later.
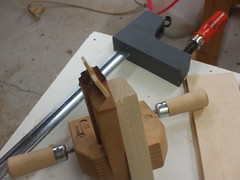


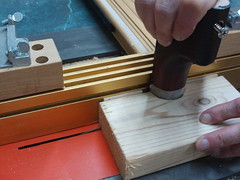
With the neck notch, the peghead notch and the nut all cut, and with a little creative vise placement, we used epoxy to put them all together very carefully and vised them into place so the epoxy could set.
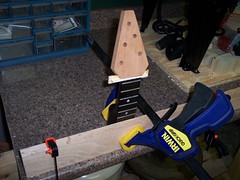

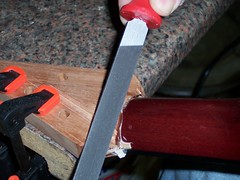
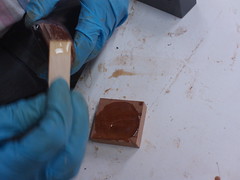
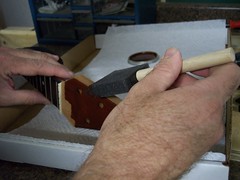
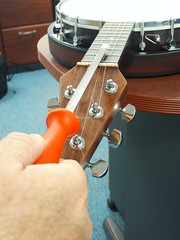
After the epoxy had set we needed to cut off the excess nut and spline material. So with the help of some clamps, a file, some sandpaper and a Dremel (see video) we cut and filed and sanded and sanded some more until everything was smooth.

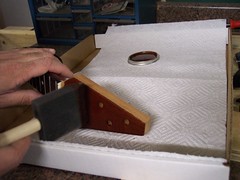
Then we applied two coats of stain and a coat of polyurethane.
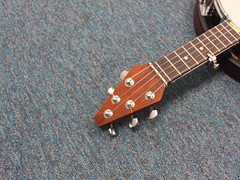
After the polyurethane dried we attached banjo tuners, installed a fifth string capo and strung standard banjo strings.
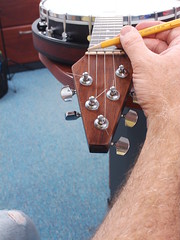
We put graphite in the grooves (see video), then it was time to adjust the depth of the five notches in the nut. One string at a time we strummed the string and tapped the string against the zero fret. If a string changed tone when it was pressed against the zero fret, that meant the groove in the nut wasn't deep enough so we deepened the notch just a little with a file. (See video) We repeated the process until each string was lightly touching the zero fret (see video.) (See longer video explaining all of this.)
That was the last step. My sawed-off banjo was ready for the world!
Cross-posted at J.R.'s Banjo Hangout blog